My Paperless Classroom Journey: Digital Resources
In my last “My Paperless Classroom Journey” post, I introduced a wonderful app for going paperless in your classroom – Notability. I provided an overview of the app features and a general summary of how I integrate the app into my RTI instruction. Now, it’s time to dig deeper into the content! (Did you miss Part I about getting started with Notability? Go back and read it HERE!)
Notability is a note-taking app that allows you to take notes, annotate PDFs and photos, collect student work, and capture voice recordings. It’s the perfect app for practicing literacy skills and a fabulous digital alternative for paper-and-pencil activities.
As you can imagine, downloading and setting up the app is just half the battle. Implementing the app into your instruction effectively is the other half. Sure, your students can just use the app as a notepad; but that’s like buying a Smartphone and only using it to make phone calls. Don’t ignore the amazing features it has to offer!
As I mentioned in my last post, the PDF annotation feature is the element I use the most. Of course, in order to annotate PDFs, I need quality PDF files that are accessible and ready to use. Enter, my digital resource toolbox… Dropbox.
So, where do I get the PDFs that fill my Dropbox?
Most of what I use comes from my own creations, but my collection of PDFs definitely includes some valuable resources from other websites, programs, and other educators. My Dropbox holds a nice balance of new materials I developed for this purpose and materials I already had in the classroom. Not everything I had was ready-to-go, so it took some time in the beginning to convert files and “go paperless.”
NOTE: The PDFs I upload to Notability are for personal use in my classroom, and I do NOT share the files publicly. Depending on the product license, and the “terms of use” for particular resources, you need to be careful about how you manage and store your files. You tread a fine-line with uploading files to digital folders and importing the files onto your devices. It is my recommendation to read the “terms of use” first and to look into the copyright policies of resources. Be especially cautious with how you use school-purchased materials and programs, and definitely do not share your files. (Sorry… necessary disclaimer!)
That being said, it’s easy to create PDFs to use with Notability. Any word processing document can be converted into a PDF, and you can easily scan or take pictures of documents that you’ve created, as well. You can upload non-PDF files, but formatting can sometimes become an issue. A PDF is a common file type and much easier to work with!
A Sample of PDF Resources
For those of you just getting started and looking for ideas, below is a sample of free and paid resources that my students interact with using Notability. Some of the resources are ones I created, some I purchased with my own money (i.e., TpT resources), and some of the items were purchased by my district (i.e., Reading A-Z, Toolkit Texts, etc.). I wanted the list to reflect the actual digital resources I use day-to-day, not just my MsJordanReads products (although, I do use those products a lot!).
COMPREHENSION
Non-Fiction Articles — Actively reading non-fiction is a great way to kick-start PDF annotation. I upload ReadWorks articles (free), Toolkit Texts (paid), and Reading A-Z skill passages (subscription) for my comprehension students to close read, mark, and highlight! One Stop Teacher Shop also has a great list of FREE resources for Non-fiction texts.
Finding Text Evidence — My students love finding and highlighting text evidence using Notability. When I discovered Luckeyfrog’s Super Text Detectives resources, I knew they would be perfect for practicing this skill. I took the plunge and purchased the whole spring bundle (LOVE it). Now I have to go back and buy the other bundles for next year! The passages are short and perfect for my RTI comprehension groups. The students use the highlighter tool with the different color options to find the text evidence. (Check the resource out here!)
Graphic Organizers — For FREE comprehension graphic organizers, check out FCRR, ReadWriteThink, and TeacherVision. You can also create your own graphic organizers (using Microsoft Word or any word processing program) and convert to a PDF to annotate.
FLUENCY
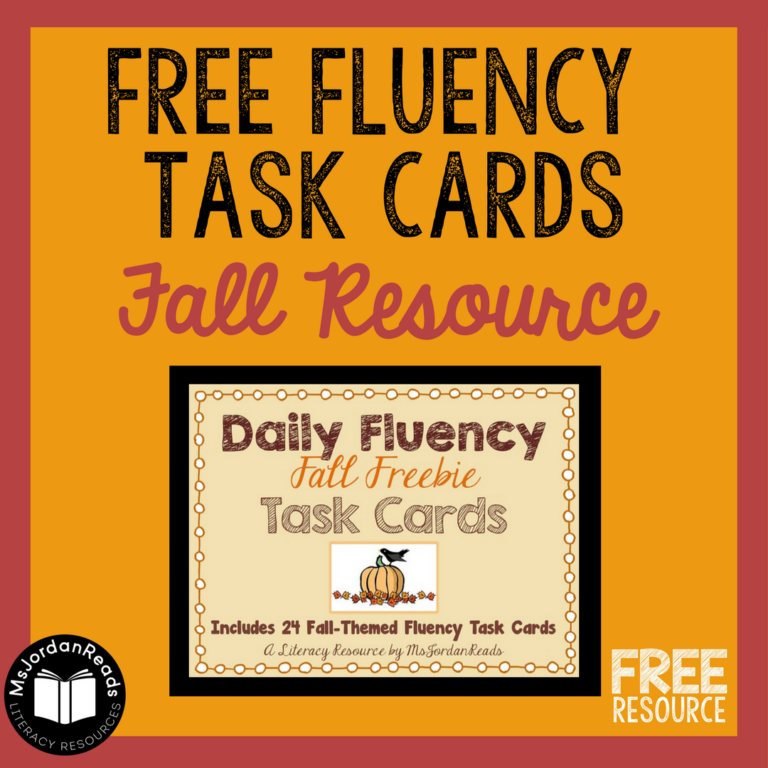
Daily Fluency — Many of my fluency students complete a Daily Fluency page each day for fluency practice! There are 20 pages for each month and two levels of difficulty in the series – Beginner & Intermediate. (Check out a sample here!)
Daily Phonics — Some of my decoding/phonics students complete a Daily Phonics page each day to practice breaking apart words and identifying phonics patterns! They use a stylus pen for these activity pages. After trying out a whole bunch, I decided to purchase a group set of Musemee Notier Prime stylus pens for my classroom. (Check them out through my affiliate link.) Just like Daily Fluency, there are 20 pages for each month. (Read more about these activity pages here!)
Fluency Booster Pages — My fluency students complete Daily Fluency Booster Packs to reinforce specific fluency skills! These are great follow-ups to my Daily Fluency warm-up pages and help students practice one fluency component at a time: Accuracy, Pace, Phrasing, and Expression!
Fluency Passages — I use Fluency A-Z passages (subscription only), but you can really use any short reading passage for fluency practice. Students record their voice, mark their errors, calculate their wpm, and graph their progress for two different readings of the same passage (cold/hot). Students can record their progress on fluency graphs to track progress throughout the year. For RTI, the students work with me for this “fluency coaching” intervention, but you could easily have the students work in partners in your classroom.
Fluency Speed Drills — Students can read lists of words, phrases or sentences multiple times to build fluency. They mark errors and mark how far they read on a list using the annotating tools. They can also record their progress on fluency graphs!
Fluency Practice Pages — I’m obsessed with The Moffatt Girls’ I Can Read! NO PREP products. They’re fabulous, and I use them with many of my fluency/decoding groups. I recently purchased the bundle of all 3 sets and the activities are perfect for extra fluency practice! You will still need dice and printed spinners, but students can complete activity pages digitally on the iPad. (Check out the resource here!)
PHONICS
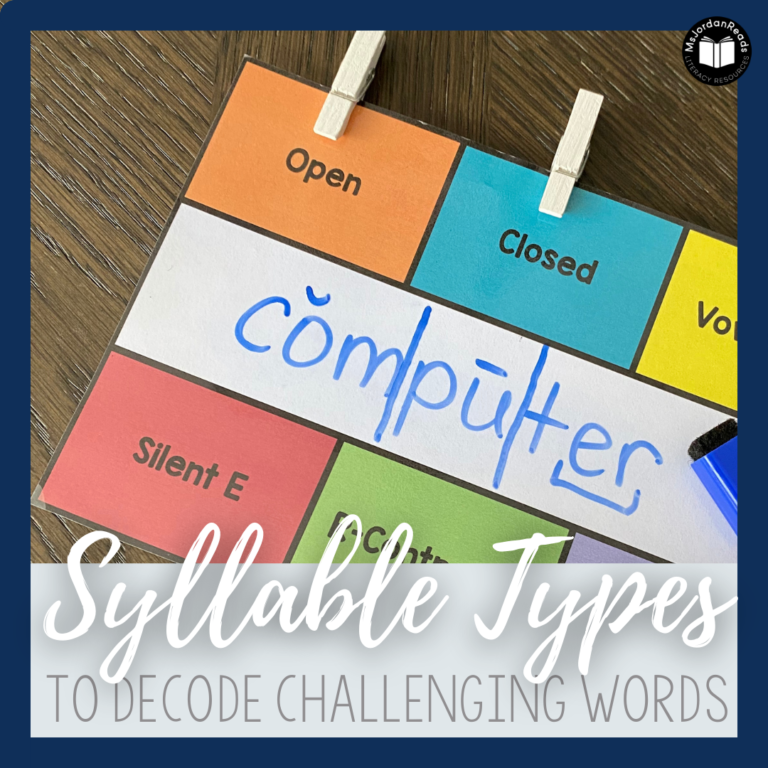
Phonics Word Sorts — As an alternative to word sorts that they have to cut and sort, students can color-code and sort words into the different categories. I have some of my decoding/phonics groups complete Color & Sort Activity Pages to reinforce specific phonics skills.
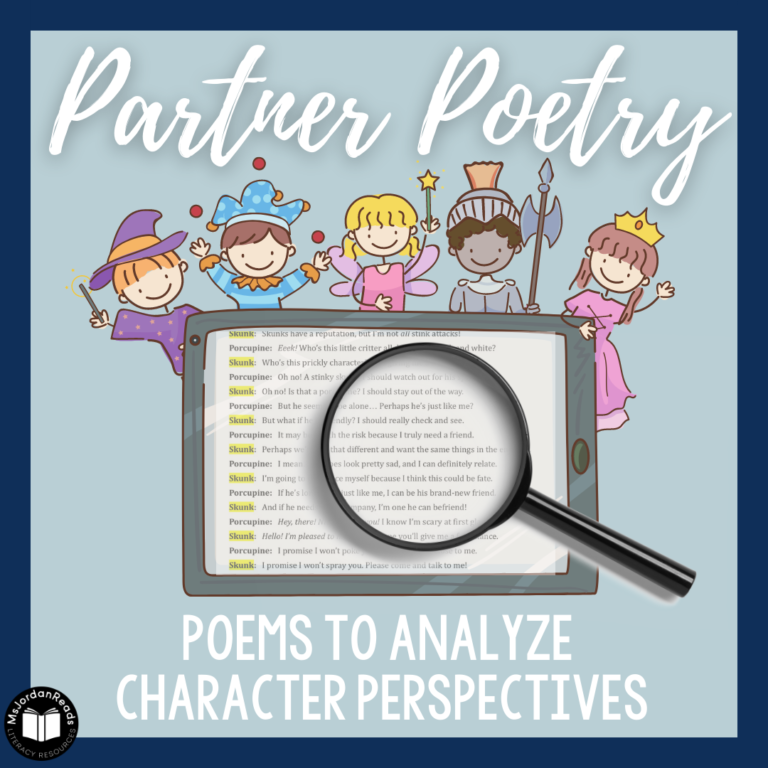
Phonics Word Hunts — Students can use PDF texts to hunt for specific phonics spelling & sound patterns. My students love going on word hunts in my partner poetry series (“The Winter Escape” is shown below!). I have them highlight specific patterns using the highlighting tool and then record the words on a word hunting graphic organizer. You can use the graphic organizers with real books too!
—
The list above is just a sample of PDF resources to use with Notability. It does not reflect the other ways I practice annotating texts with my students (there is still a place for sticky notes and paper!), and it does not reflect the other ways I use the app (e.g., voice recording, notepad for word work/writing, web quests, etc.). Working with PDFs is a great way to start using Notability, but there are plenty of other ways to use the app throughout the day.
Also, please note that Notability is just a small part of my instruction and only for some of my groups. There are other apps that I integrate into my teaching and there are still plenty of interventions I use that are completely iPad-free. There are days where we don’t even touch technology! I strongly believe it’s all about a balance.
It may be a while (if ever) before I’m 100% digital, and as the year continues, I definitely will continue my journey toward a more paperless classroom. I hope to follow-up and share more of my experiences soon. In the mean time, though, I would love to hear what resources you have in your digital toolbox! Comment below or email me your suggestions (msjordanreads@gmail.com). Feel free to share your experiences and thoughts on going paperless, as well!
NOTE: Be sure to check out Part III in My Paperless Classroom Journey series all about Notability for Teachers!




WOW!!! This is BRILLIANT! What a great way to solve the paper problem and meet the needs of such digitally geared students! Thank you for sharing this!!
Annie Moffatt
Thank you for letting me showcase one of your amazing products! Going paperless has transformed my teaching, and I’m happy to share my experiences. Hopefully it will help other teachers learn about new ways to use your PDF resources!
—
Kristin
I love this! I have this app on my personal iPad and like you I got it for note taking. I love how use it in your classroom!! So many great ways of using it for small group! Question…how many iPads do you have? Do all students during small group have an iPad or do they share one? You may have mentioned this and I overlooked it. Thanks for sharing! I want to try this!
I talked about the set-up in my first post in the blogging mini-series (link below), but I’m happy to answer your questions! 🙂
https://msjordanreads.com/2015/01/22/my-paperless-classroom-journey-getting-started/
I have five student iPads and one teacher iPad. You can have multiple students use the same device, though, as long as you set up separate folders. You can always have students rotate if you just have one device, or you can just use it as a center. Students can also work in partners. My first “Getting Started” blog post goes into a few other options!
Let me know how it goes! I would love to hear about other teachers’ experiences going “paperless.” Perhaps I can even learn a thing or two from you as you explore how to do this!
Good Luck!
—
Kristin
msjordanreads@gmail.com
This is amazing! Thank you so very much for sharing 🙂
Sheri.
Thanks for checking out my blog post and following my paperless journey! I hope you find it helpful in exploring new ways to use classroom resources! 🙂
—
Kristin
Awesome post!! Thank you for all the links to your products!! I will have to make some purchases during the next sale (or before then if I can’t wait that long)!! I found this blog post through The Moffatt Girls’ link on her Facebook page. Consider me a new follower as a newbie reading specialist always looking for new ideas for reaching my struggling readers!!
Erin,
Thanks for checking out my blog post! I was so excited that Annie from The Moffatt Girls let me showcase her product. She was nice enough to share my post, and I love that I now have a few new teachers to connect with.
I’m so excited to share my paperless journey and hope others will share their experiences too! It’s definitely changed the way I use the resources and materials in my classroom.
I’m a Reading Specialist and have a ton of resources on my blog to help you if you’re just starting out. Feel free to email me with any questions! 🙂
—
Kristin
msjordanreads@gmail.com
This works remarkably well! I have a class set of iPads but will have to convince my district to pay for the app. In the meantime I’m letting them use mine ?
Our school district is all digital – each child has an iPad (k-2) or laptop (3-12). I love our digital curriculum but my firsties still need to write. Our district is going in the “paperless” direction and discouraging photocopies. Besides, my school is now charging teachers for copies if theyve exceeded the allotted amount ?
Loving the blog!
Thanks for stopping by to check out my blog! I’m jealous of all the technology your school has. I would LOVE for our building to go 1:1, but we’re just not quite there yet. And that’s crazy that you have to pay a fee for extra copies! YIKES! I do believe there is still a place for paper and pencil activities, and I can’t imagine having to pay for those copies. You can always use some of the other free apps to start until your district is willing to purchase the app. There are also technology grants that are worth looking into. Let me know if you have any questions as you explore using Notability. I would also love to hear if you find other ways to use in the classroom. I feel like I’m barely skimming the surface of its capabilities!
I LOVE your ideas and I was trying to set it up on my iPad. I have a few ?s. Where do you set up the folders for the students…Dropbox or Notability?? Also, I can’t figure out how to choose just one page from a download…every time I try to select 1 page, I get the whole document (ex. – 36 pages). Any help you can give me would be appreciated. 🙂
Kim,
Thank you for your feedback and questions! I set up the individual student folders on Notability to hold all their files and notes. Again, these are device-specific in my room, but I know you can sync them across your set of iPads if you want to. I also create group folders on Dropbox for students to access the files I want them to download into their folder (e.g., 5th grade RTI). This is my way of “pushing out” assignments. I’ll tell them the name of the file to find and the page # or range to download as a new note. Other teachers I know use a management system like Edmodo or Schoology to help with assignments. For my small groups, my system works just fine!
As for selecting pages, when you open a folder and click the “import” (down arrow) button, it will open up your Dropbox (you must allow access first). From there, you select your file and Notability will start downloading (you’ll see a circular progress bar). For the next step, it will ask if you want to “Create new note, Add to other note, or Cancel.” Select “Create new note,” and it will prompt you to select your page range. It will ask for a Start Page and an End page.
Let me know if you need screenshots! I’m happy to email you more detailed steps, but I’m thinking a follow-up blog post with my annotated directions may be helpful. I’ll have to work on one. 🙂
Let me know how it goes! You can email me at msjordanreads@gmail.com or reply here so others can see how to troubleshoot the same issues.
—
Kristin
Thank you for getting back to me. I actually figured out how to do it before you responded to me. I’m excited to try it at school, but we have had 2 snow days plus the weekend so I haven’t had a chance. Thanks again.