Fluency Flipbooks for the Classroom
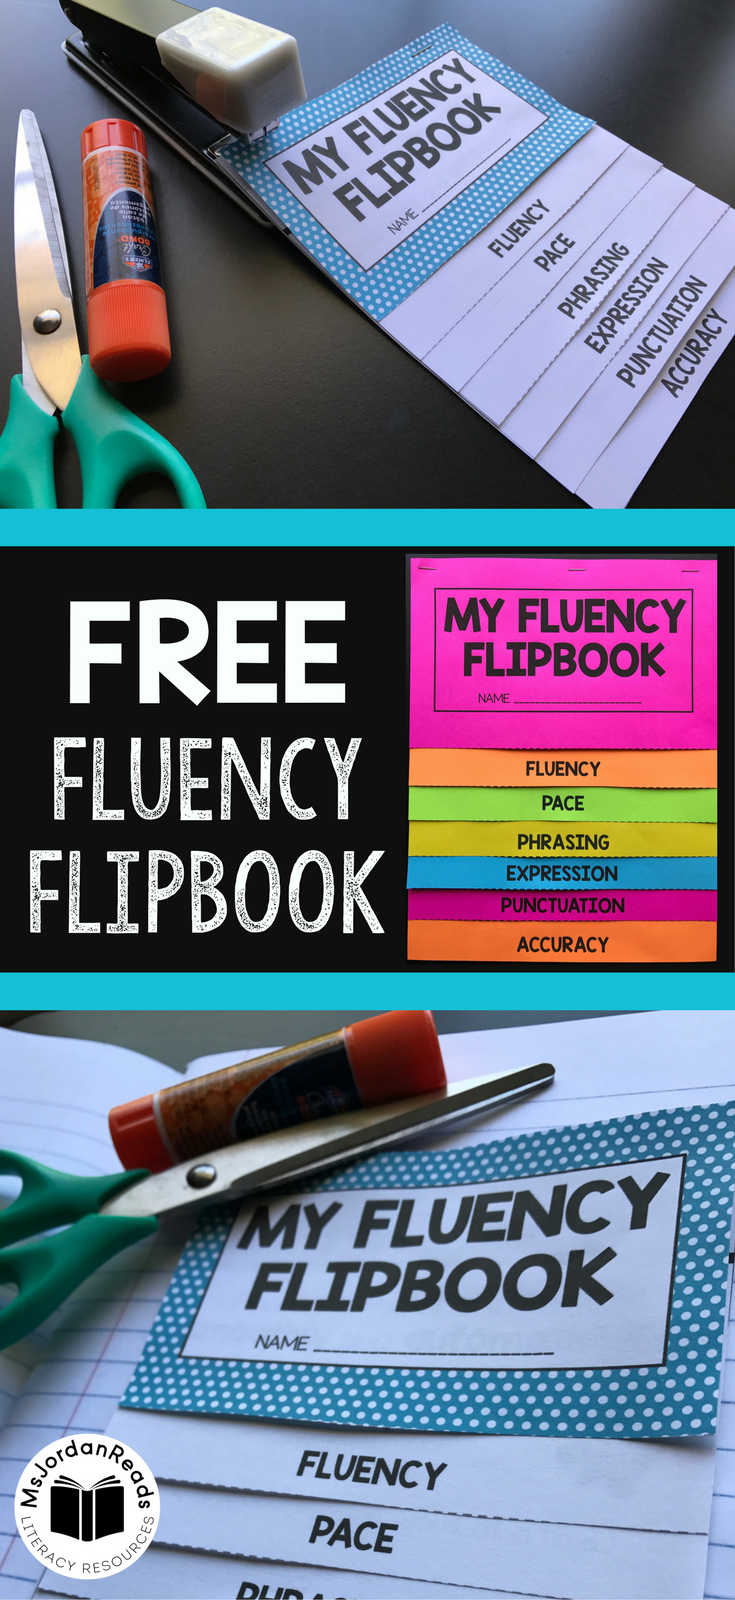
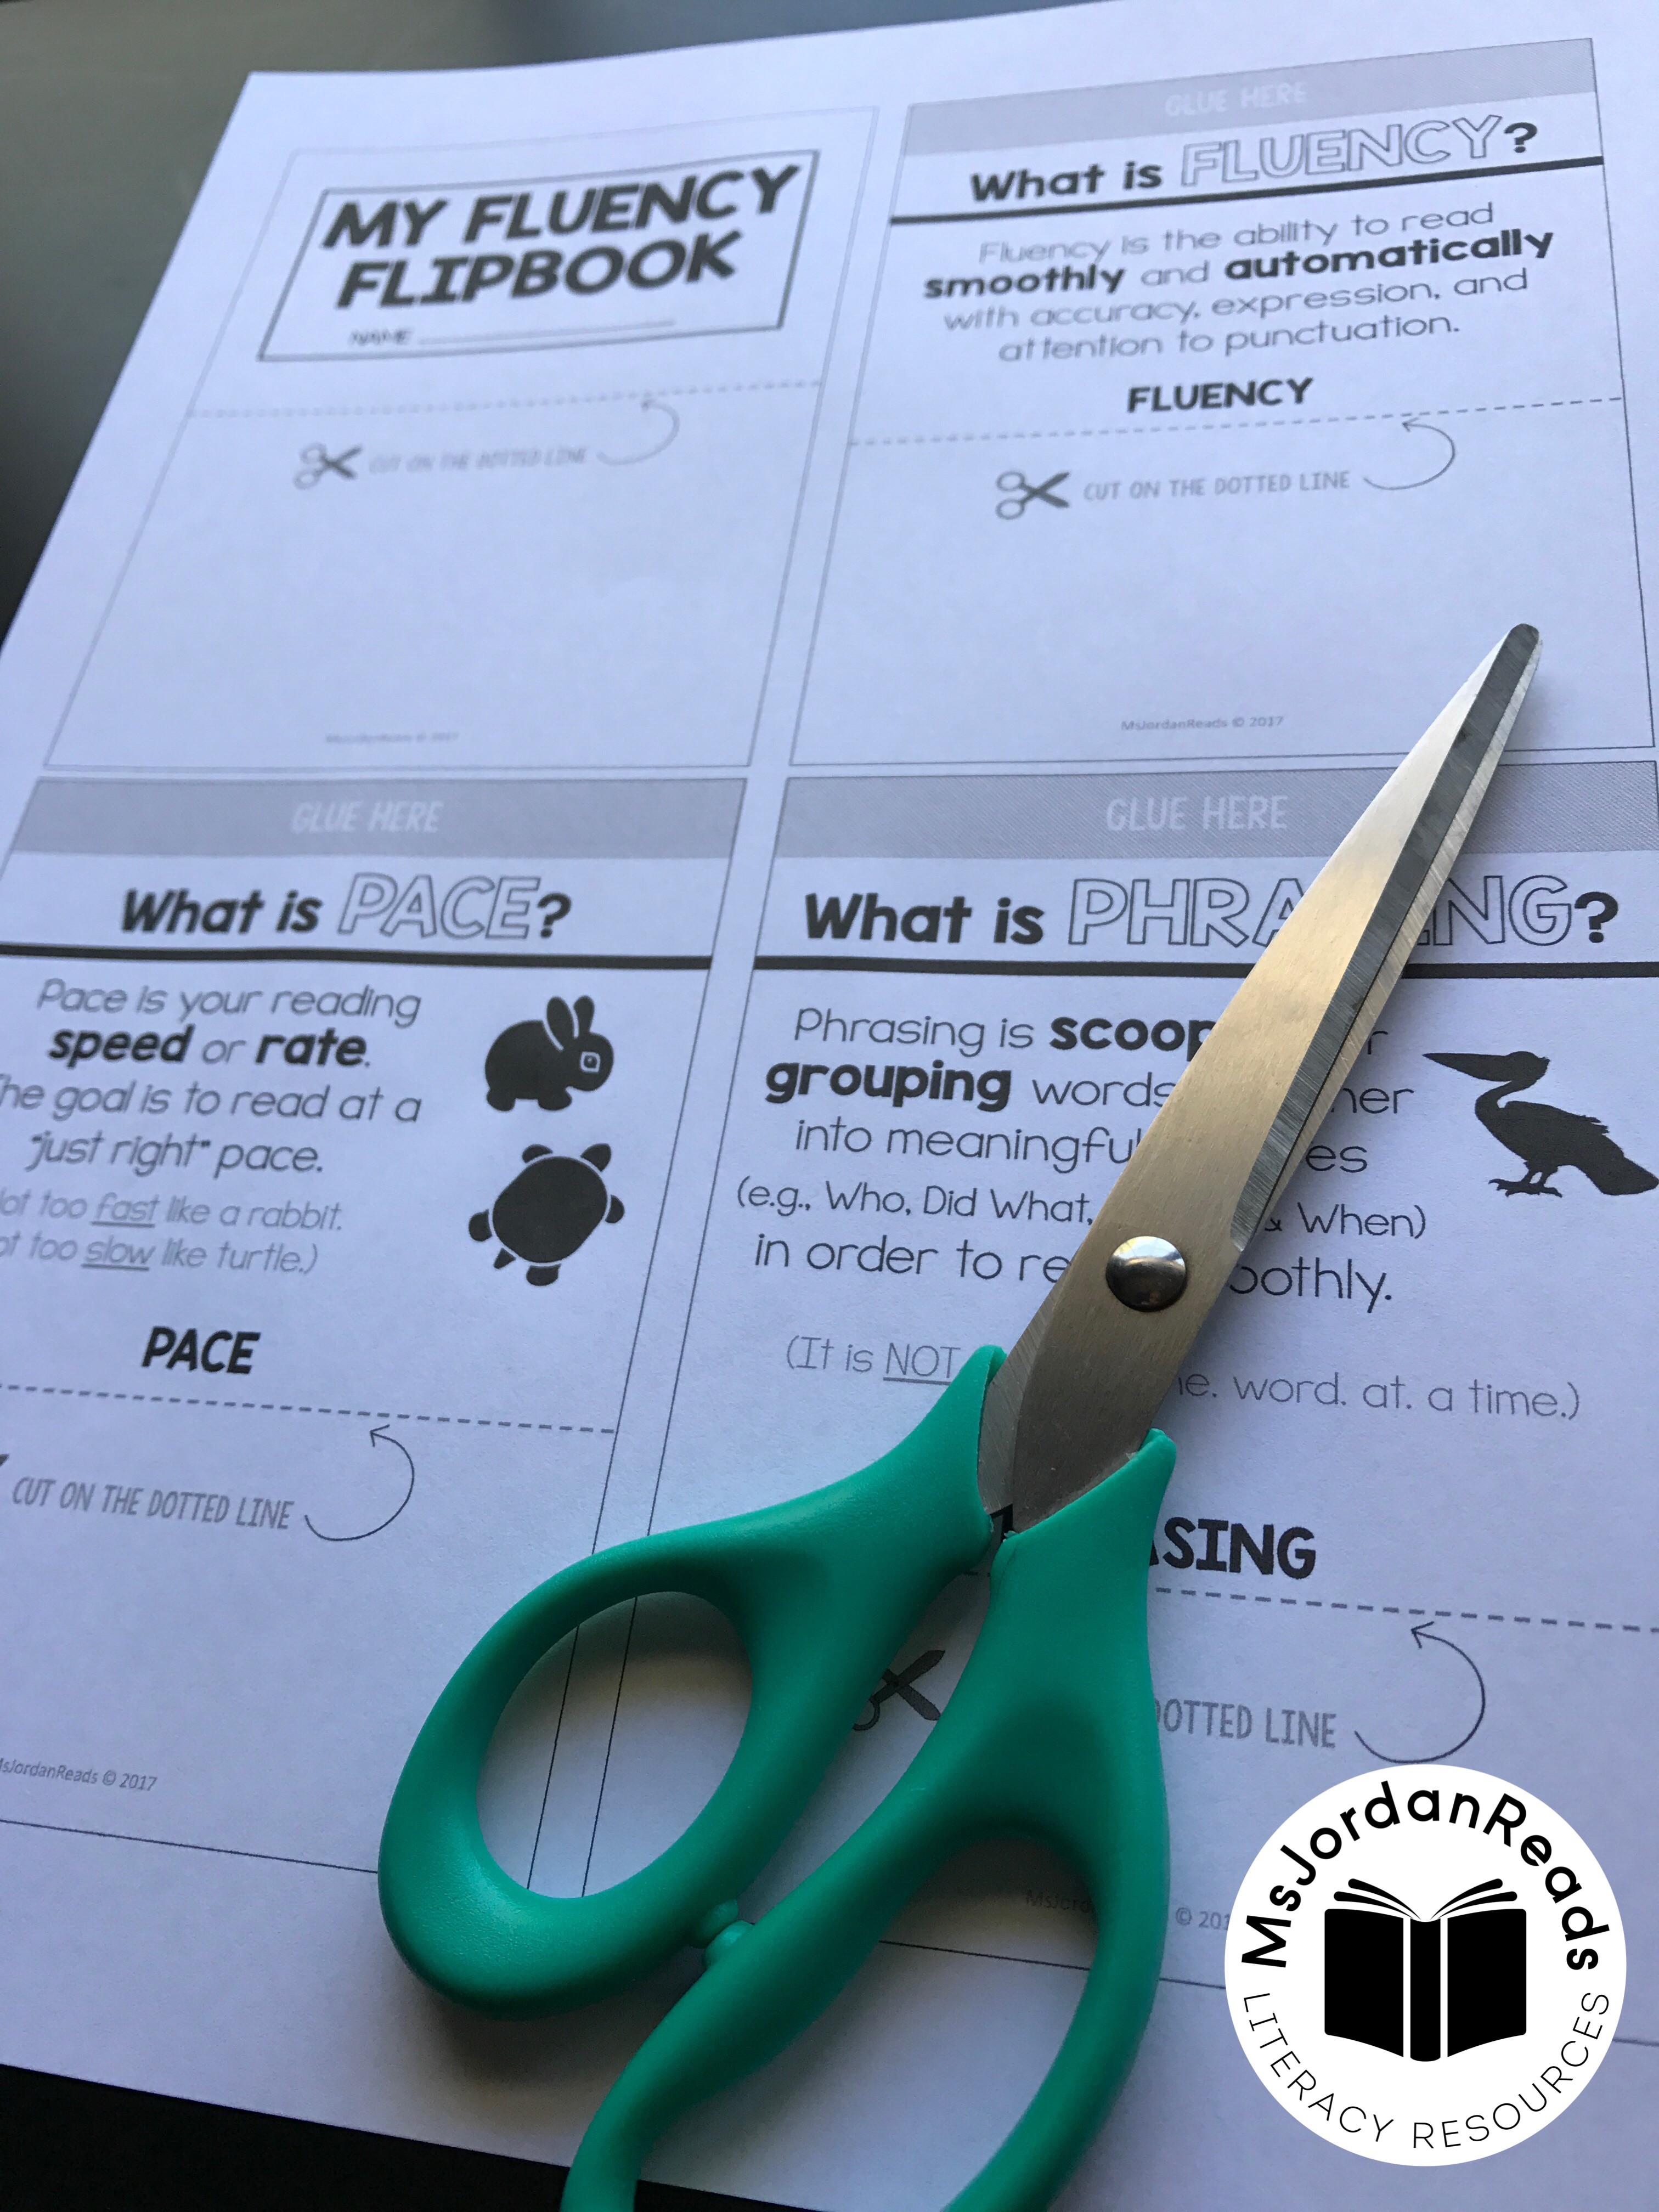
The Fluency Flipbook is an easy-to-assemble, printable reference guide for the different parts of fluency. Students will love putting together this flipbook as they learn the definitions of each component.
Here are a few ideas for when to use this flipbook in the classroom:
- Fluency Stations
- Fluency Folders
- Interactive Notebooks
- Fluency Bulletin Board
- Parent Night/Open House
- Send Home for Fluency Practice (Book in a Bag)
Resource Options
Choose a Size:
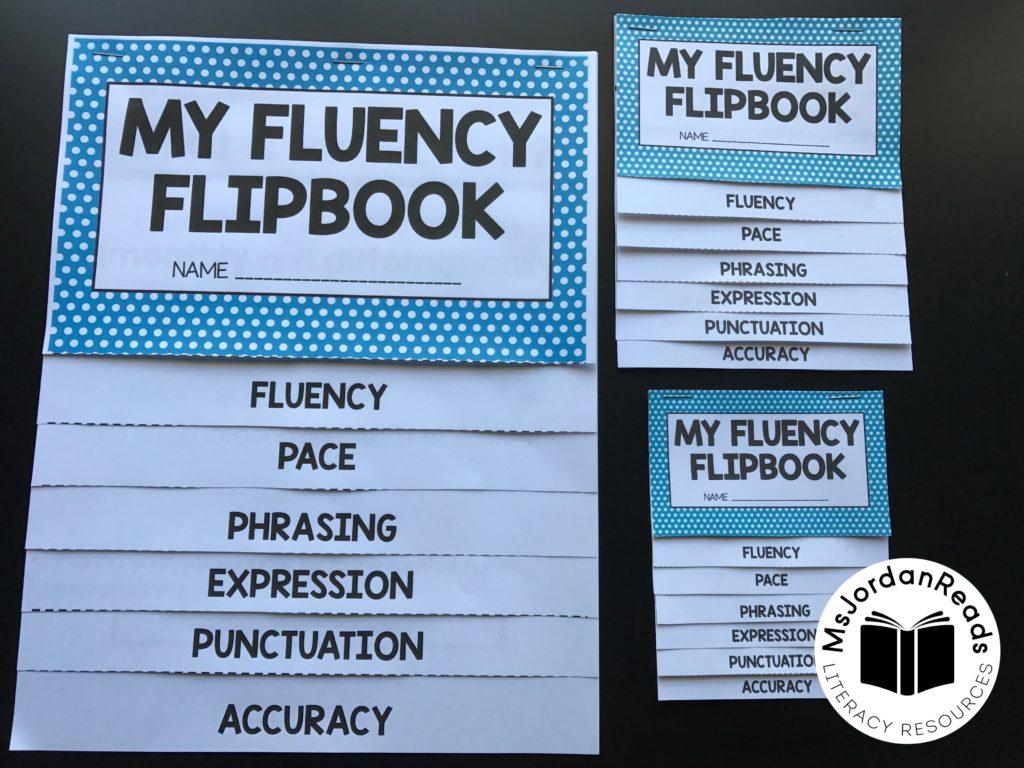
- Full Size (prints in 7 sheets)
- Half Size (prints in 4 sheets)
- Quarter Size (prints in 2 sheets)
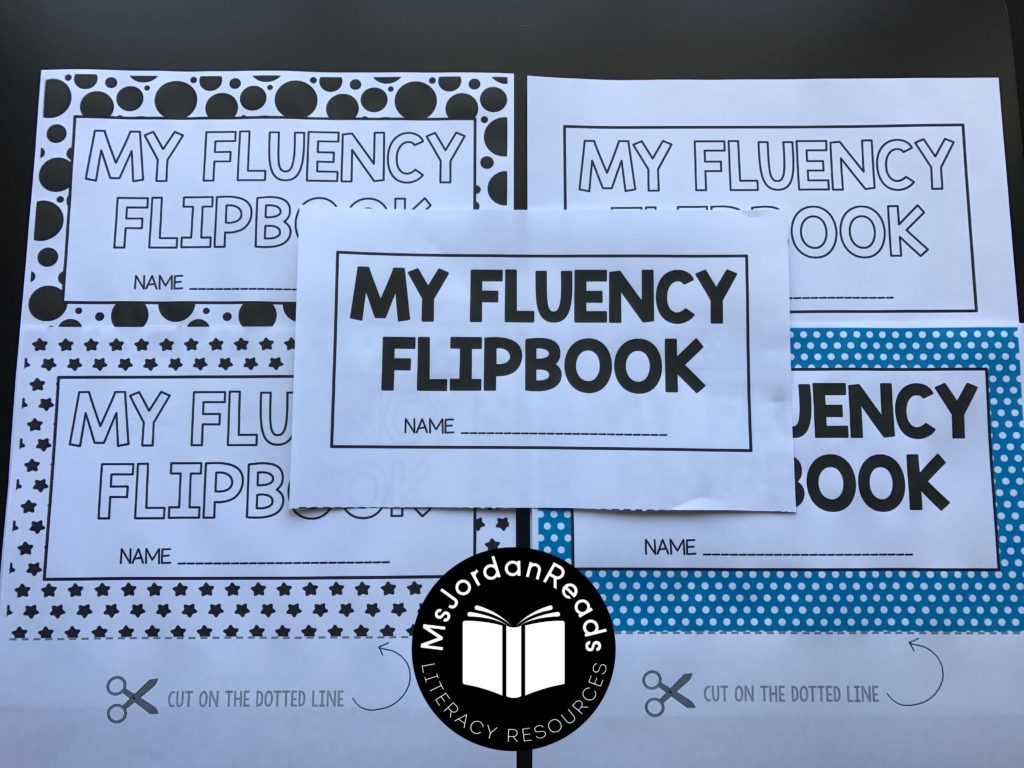
Choose a Cover:
- 1 Color Option
- 4 B/W Options (students can color and personalize them!)
Assembly
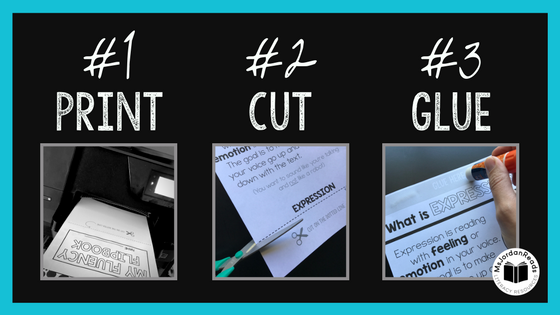
It’s as easy as 1, 2, 3… Print, Cut, Glue!
Step 1: PRINT
Choose a cover from the five options and decide whether you wish to print HALF or FULL page flipbooks (this will determine if you’re printing one or two to a page!).
If printing half pages or in page-specific colors, like with Astrobrite paper, create an assembly line of pages for students to pick up. Make sure they each have SEVEN pages if they’re doing the full size option. (NOTE: If you’re printing full size and in white, you can have the copy machine collate for you!)
You can then create an assembly line of pages for your students to take from.
Step 2: CUT
Look for the scissor icon and cut each page on the dotted lines.
Step 3: GLUE
Using the labeled “GLUE HERE” areas, glue one page on top of another, starting with the last page. Essentially you’re just adding to the top of the pile of glued-together pages. If you prefer to staple, that is an easy option as well!
Once assembled, mini-flipbooks can be glued into reading notebooks or interactive notebooks by adding glue to the back of the very last page.
Printing Tips
- If you’re printing Full Size and wish to create the bright-colored flipbooks, create a blackline master and then copy one page at a time on bright paper using the page-specific colors you wish for your students to use. Otherwise, for black & white copying, make sure your copy machine collates for you so you don’t have to create the assembly line of pages. You can even have your copy machine staple at the top (if that’s a feature of your machine) and students just have to cut on the dotted lines.
- If you’re printing Half Size, the pages aren’t 100% half size due to the layout and margins. I would recommend printing with a border so that you can see where to cut!
- If you’re printing Quarter Size, the pages don’t reach the edges due to the layout and margins. I would recommend printing with a border so that you can see where to cut (see image below).
If you’re already a subscriber, you may download the resource HERE otherwise, sign up below! (Lost your password? Check your latest email from me for the password!)
I'd Like to Subscribe & Receive a FREE Fluency Flipbook!

I'd Like to Subscribe & Receive a FREE Fluency Flipbook!


