3 Ways to Use Clothespins for Working With Sounds and Syllables
Guess what?! Clothespins are not just for laundry!
Clothespins are one of my go-to teaching tools for my reading groups! They’re cheap and have so many instructional possibilities. Plus, they’re easy for students to manipulate when used for literacy centers and word work. No matter what strategy or skill I’m teaching, you’ll always find clothespins at my reading table. Keep reading to learn about THREE ways I use clothespins for working with sounds and syllables!
**This post includes affiliate links. To learn more about what that means, click here.
1. Labeling Syllables
- Open vs. Closed Syllables in Words (one clothespin that says “open” and one that says “closed” – this is great introduction to syllable types for early readers just learning about open and closed syllables and words!)
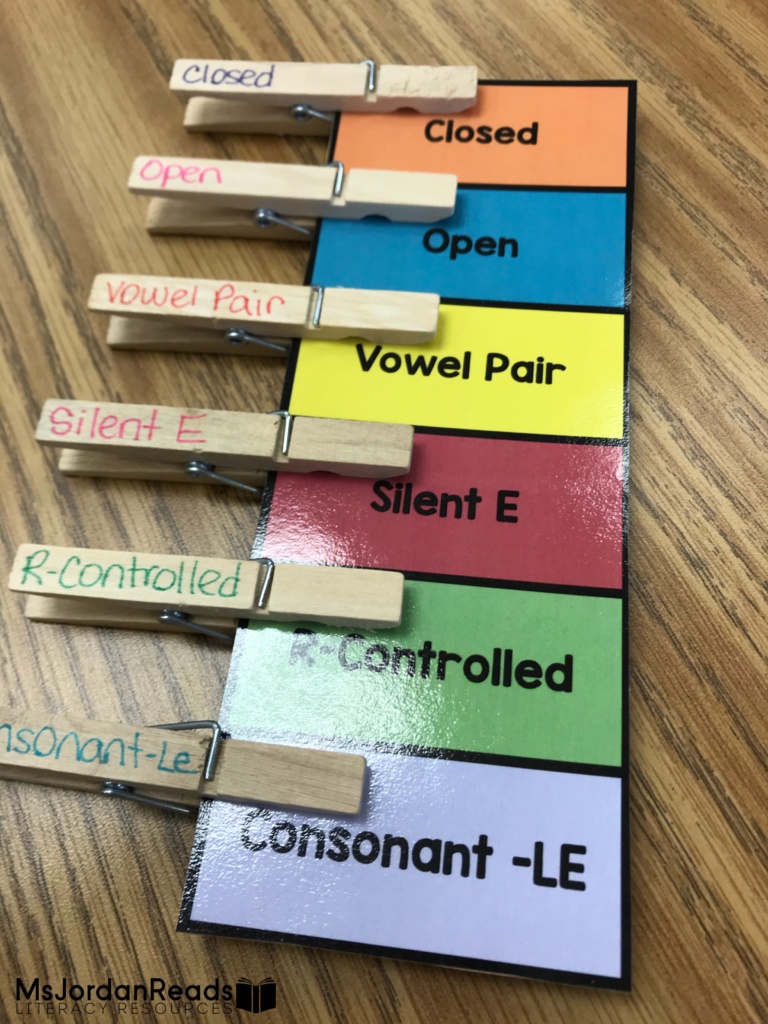
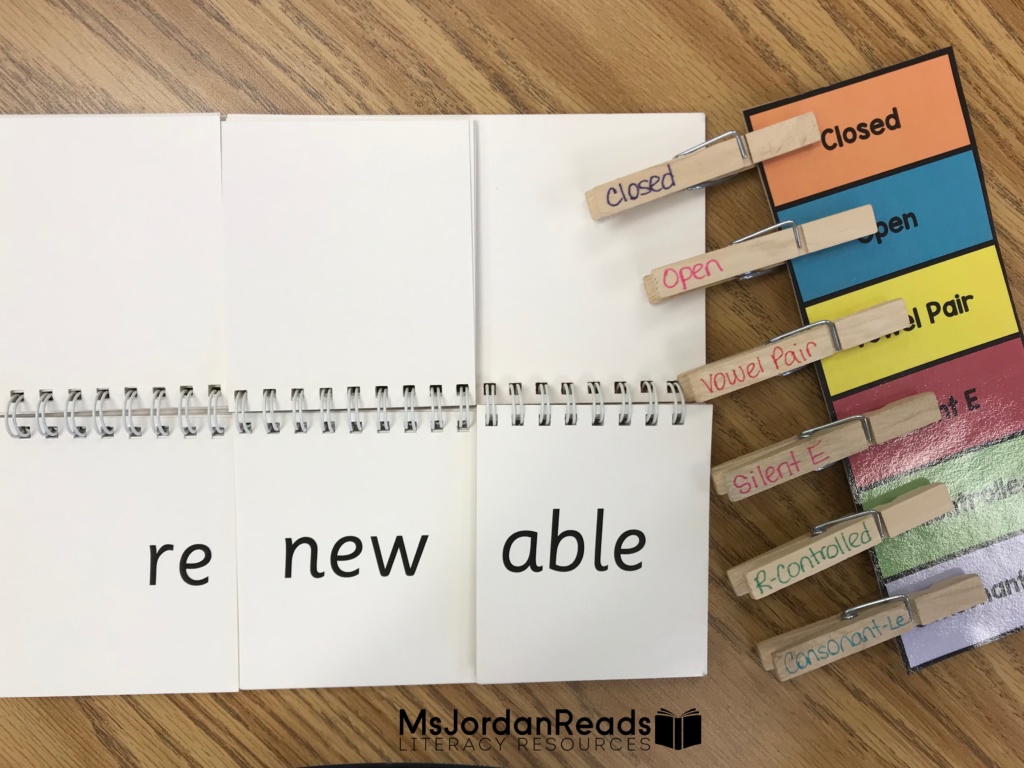
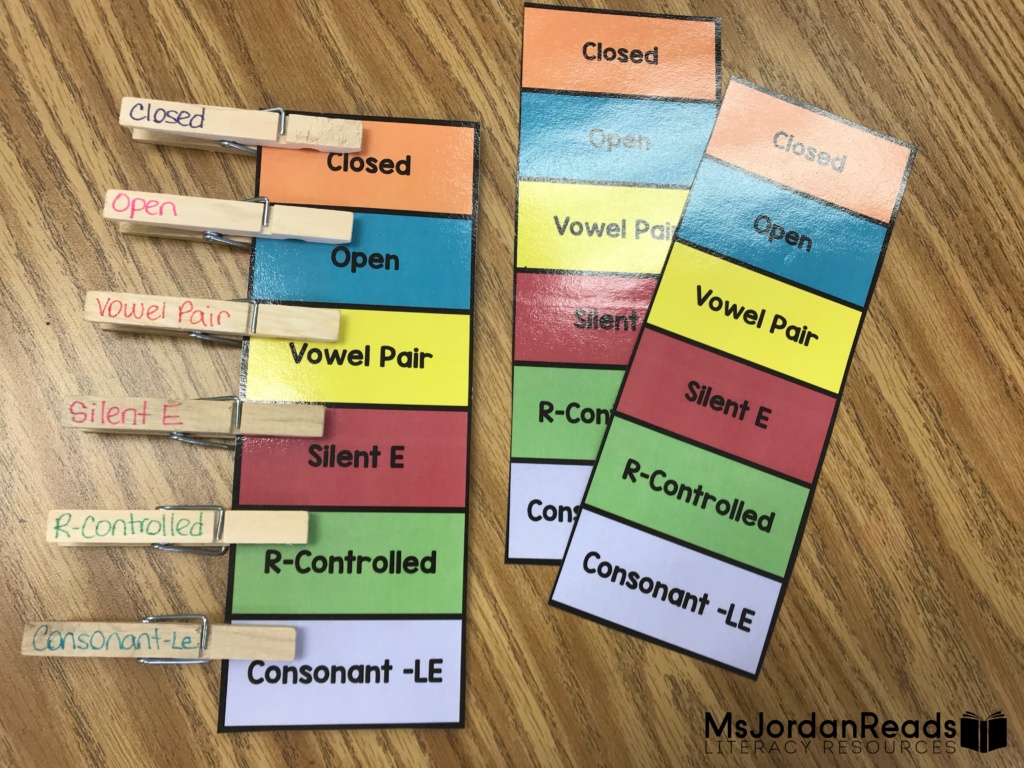
- Six Syllable Patterns (one clothespin for each syllable type: Open, Closed, R-controlled, Silent E, Vowel Pair/Team, Final Stable/Consonant -LE)
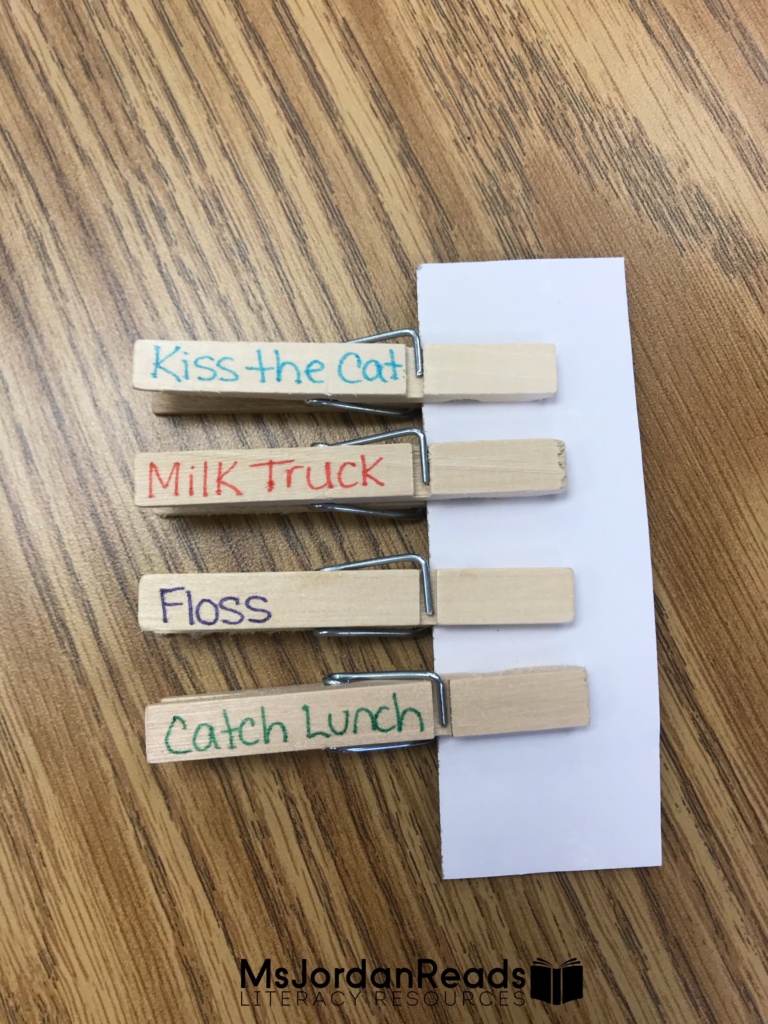
- Common Syllable Division Rules (one clothespin for each syllable division rule; Orton Gillingham and other multi-sensory programs, like Barton Reading & Spelling, have names for these rules: “hap/py rule,” “ti/ger rule,” “li/on rule”)
- Consonant-Vowel Syllable Patterns (one clothespin for each syllable type: V/VC, V/VVC, VC/CV, etc.)
- Accented vs. Unaccented Syllables (one clothespin that says “accented” and one that says “unaccented” for identifying the schwa sound in words or for pronouncing the words)
- Other Syllable Types (one clothespin for each type: Schwa, Unit Syllables, etc.)
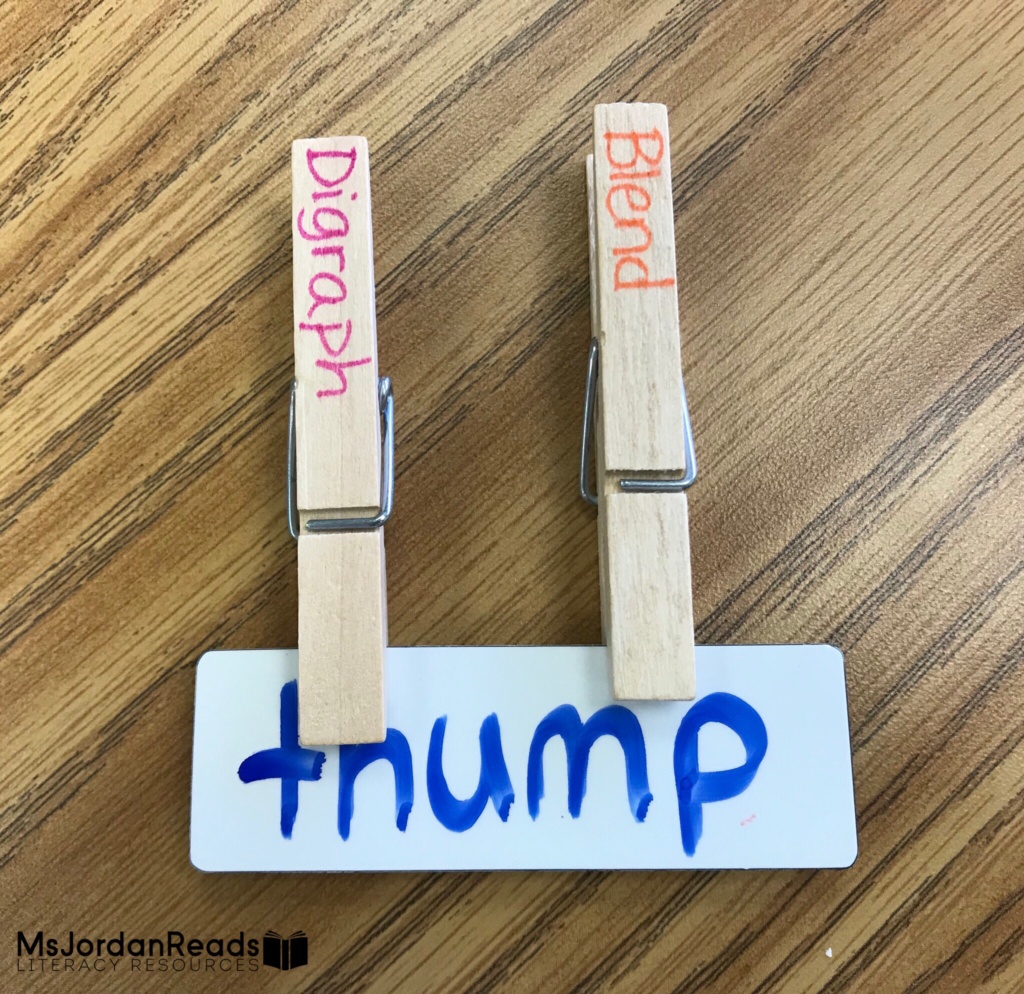
NOTE: When I’m just working with TWO different kinds of syllables (e.g., “open vs. closed,” or “accented vs. unaccented”), I usually just make two-sided clothespins with a syllable label on each side so that the students only need ONE clothespin each (if working with one syllable words) or TWO clothespins each (if working with two syllables words) so that they can have the option for any two syllable combination in a two syllable word. This tip applies to vowel and consonant identification clothespins (below), as well.
2. Labeling Vowels
- Short vs. Long Vowel Sounds (one clothespin that says “short” and one that says “long”; see my note above about making two-sided clothespins)
- Vowel Pairs (one clothespin for each vowel pair)
- Diphthongs (one clothespin for each diphthong)
- Silent/Magic E (marking JUST the “e” at the end of the word)
- Regular vs. Irregular Vowel Combinations (one clothespin that says “regular” and one that says “irregular”)
- Coding Vowel Sounds (one clothespin for each vowel sound/symbol: breve, macron, schwa, etc.)
I really love having the students code the vowel sound using the phonetic symbols. You can have the label on one end of the clothespin, but the symbol on the clip part so it can go RIGHT ABOVE the vowel sound. This works great with laminated multisyllabic word cards!
3. Labeling Consonants
- Blends vs. Digraphs (one clothespin that says “blend” and one that says “digraph”; see my note above about making two-sided clothespins)
- Digraphs (one clothespin for each digraph)
- Diphthongs (one clothespin for each diphthong)
- Blends/Consonant Clusters (one clothespin for each of the common blends/clusters)
- Complex Consonant Patterns (one clothespin for each spelling pattern: e.g., soft c/hard c, soft g/hard g, silent consonants, final /k/ /ch/ and /j/, etc.)
How to Create Them
Raid your grandma’s clothes line or run to your nearest dollar store. Clothespins are super cheap to buy for all your reading needs (you can even grab them in bulk)!
There are many options for labeling your clothespins. I like to use just a fine tip Sharpie, but you can get fancier and print out labels for each clothespin (adhere using a thin layer of Elmer’s glue or Modge Podge. You could also use a label maker or stickers, but I’m not sure how well/long stickers would stick. As long as your handwriting is legible, I figured marker was the way to go! Students could even create their own personal sets of vowel, consonant, or syllable clothespins to keep in their book boxes. Sometimes a little craftiness and personal investment helps with the buy-in.
Clothespin Storage
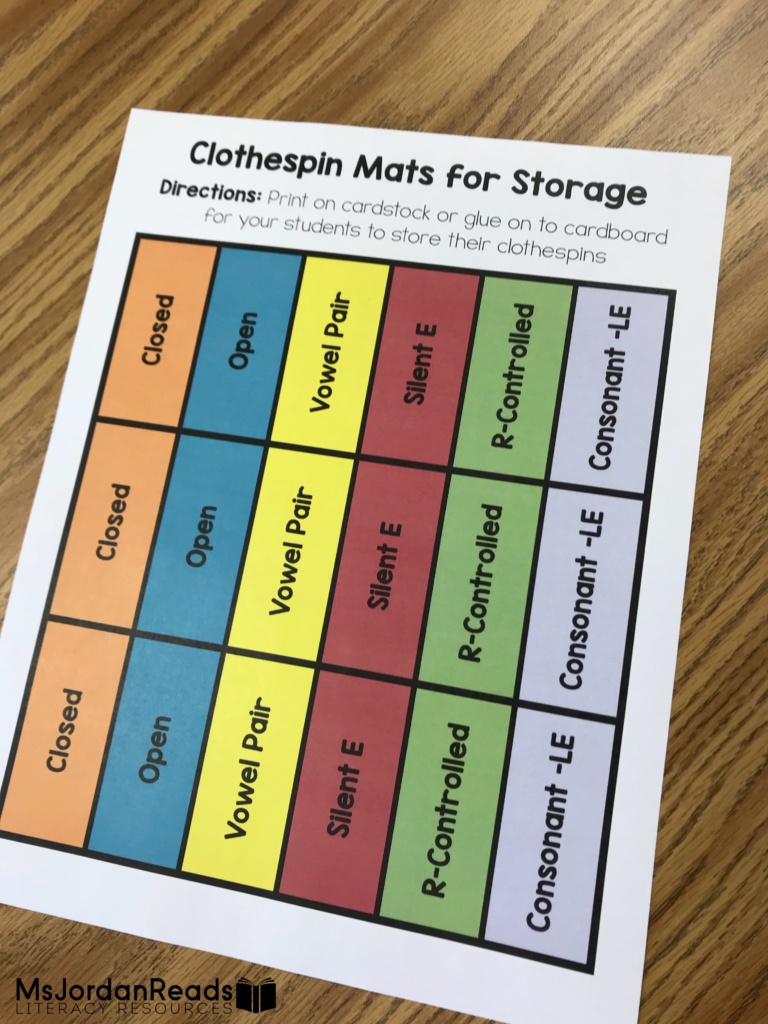
- Card Stock/Cardboard Clothespin Mats (keep in book boxes or in your guided reading table!)
- Plastic Storage Containers (label and store in your classroom)
- Upcycled Baby Wipe Containers (perfectly FREE for all those teacher-mamas out there!)
I like to keep my clothespins sorted, organized, and ready-to-use for my students at my reading intervention table, so I keep them clipped onto clothespin mats. (You can download a set of clothespin syllable mats for FREE below!) I then keep these mats organized in a larger storage container when I’m not using them. (I absolutely LOVE these stackable storage containers for keeping my reading materials labeled and organized!)
If you don’t wish to keep them on mats, you can just throw all the clothespins into smaller plastic storage containers or quart-size plastic ziploc bags, too. You can just label them with SYLLABLES, VOWELS, CONSONANTS, etc.
Additional Ideas
Clothespins have so many great uses. You can use them for clip cards, inserting punctuation, editing, labeling parts of speech in sentences, and so much more! I will be sharing more clothespin ideas and resources in upcoming blog posts, and will be sure to link them all here once published. You may wish to bookmark or pin this post for future reference!
Download a Free Clothespin Sorting Mat
Want a FREE printable clothespin mat to help organize and store your syllable pattern clothespins for your next lesson (different variations included)? This clothespin mat is FREE to my email subscribers. If you’d like to download this mat, click here to subscribe (you will get the password via email). You will also receive exclusive access to my entire growing collection of free literacy resources! (If you’re already a subscriber, you may download the resource HERE.)
DIRECTIONS: To make your mats, print the mats (color or black/white) and then laminate them. I like to glue the mats onto cardboard to make them extra sturdy. I want my students to be able to pick up the mat without the clothespins moving around or falling off. (You could also print onto card stock paper and laminate to save a few extra steps!)


