Make Your Own Trading Cards Using iPads
Trading cards are a fun way for students to show what they know! If you have access to iPads in the classroom, check out this great activity for making your own trading cards.
How to Make Your Own Trading Cards
Step 1
Download the Trading Cards app from ReadWriteThink!
Step 2
After the app is downloaded to each iPad, students need to create an app username, similar to the other ReadWriteThink apps I blogged about a few months ago. (Check out the post here!)
Step 3
Once students have a username created, you have to choose what kind of trading card you want your students to make. They can choose from seven different categories: Fictional Person, Real Person, Fictional Place, Real Place, Object, Event, or Vocabulary. If you’re looking for a few ideas, students can create trading cards for book characters, historical events, content vocabulary, and can even create a card for themselves! (Perfect for a fun beginning of the year “Get to Know Me” autobiography project!)
Students will select a category and then will be prompted to add a title. Each trading card has two sides (you have the option just to print the front side if you wish). Students will type information into each of the information sections, so it’s important for students to plan out their writing. I created graphic organizers for students to brainstorm or research, and this really helps with the writing process.
Want a copy of the graphic organizers I created for this activity? They are FREE for my email subscribers. If you’d like to download the graphic organizers, click here to subscribe (you will get the password via email). You will also receive exclusive access to my entire growing collection of free literacy resources! (If you’re already a subscriber, you may download the resource HERE.)
Step 4
Once all the information is input into the sections, students can choose a trading card design and add a picture. If it’s a trading card about themselves, students can take a “selfie.” If it’s a trading card about an object, students can take a picture of the object (use the camera icon on the trading card). You can also upload a picture from your device’s Camera Roll (use the picture icon on the trading card). If you need to upload pictures from the web, save them to your Camera Roll and access the pictures that way.
Tips & Tricks
Just a reminder, make sure the students hit “Keep It” at the bottom of the card to save the draft throughout their project (this will prevent any accidental erasing of trading cards before you get to print or share it). After editing the trading card, students can print or share it by clicking “Share It.” If a printer is directly connected, you can “Send to Printer,” but if it’s not you can “Save to Photos” and upload it using Dropbox or DropItToMe (this allows you to print from another computer).
Make sure you grant the app permission to access your Photos (this will be a pop-up request prompt when the FIRST student using the app clicks “Save to Photos”). If a student accidently hits “no,” you can always change permissions settings under your iPad Settings (click “Privacy” and then go into “Photos” to make sure permission is turned on!).
NOTE: If this project takes a few days, you’ll need to make sure students are using the same iPad each time, since the usernames are connected to a device.
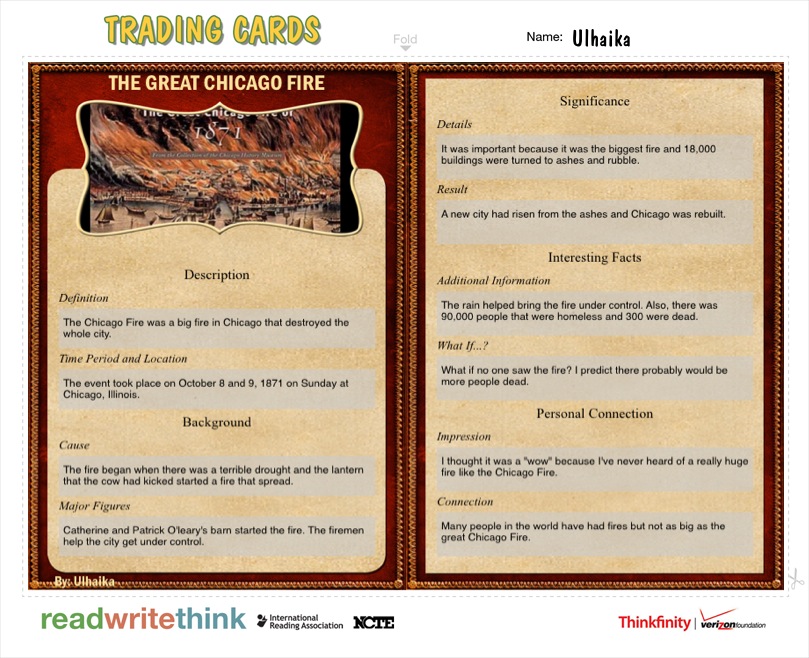
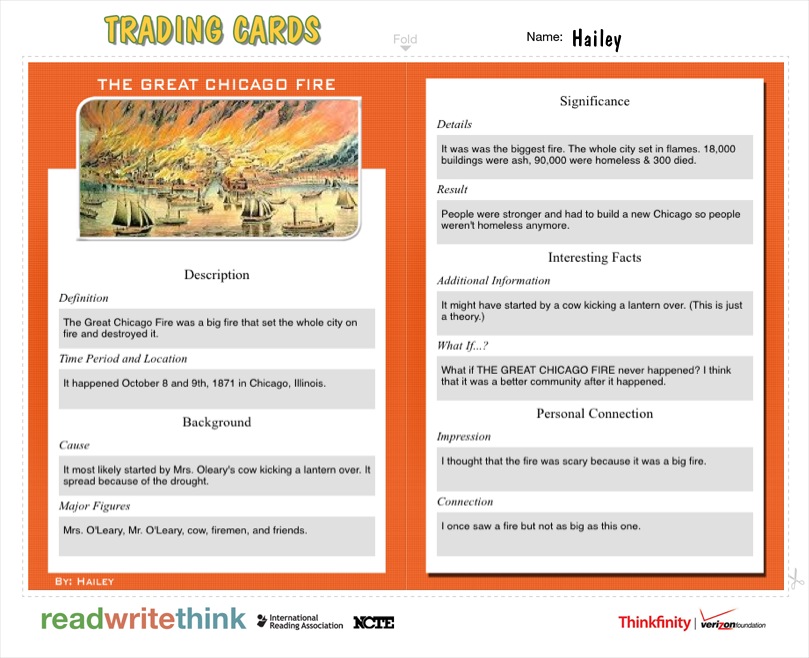
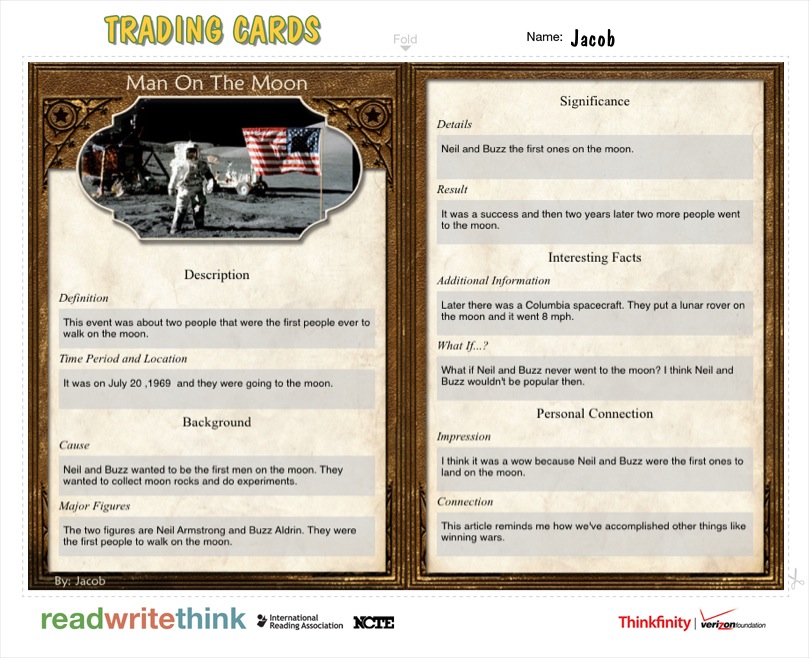
Here are a few student examples for a historical event project we did:
The pictures above display how each trading card prints (it’s a one-page file). You can cut out each page, fold it down the middle, and then laminate the folded page so it’s a two-sided cards (There are directions right on the page so your students can do this part!). The picture at the top of this post are the trading cards we created (not yet laminated). My students wanted their cards to be larger, but you can print them any size.
I’m already brainstorming the possibilities for using this app next year. There are so many! I would love to hear how you use this app in the classroom. Just leave a comment below! 🙂





This is just another example of the useful resources we have available to provide a learning experience and ability to give students an environment to achieve success.
Thank you so much for sharing this idea! There are SO many ways teachers can adjust and utilize this base idea, and I know my teammates will be really excited to try it on our iPads in the fall!